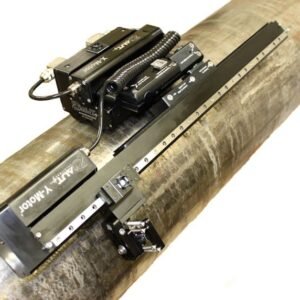
Jireh ROTIX – High Temperature Weld Frame Scanner
High Temperature operation up to 350°C

Have questions about buying this product?
Perform UT scans while pipes and tubes remain on-line with surface temperatures up to 350°C (662°F). The ROTIX – High Temperature Weld Frame Scanner provides encoded feedback for up to 4 probes on pipe sizes as large as 96.5 cm (38 in).
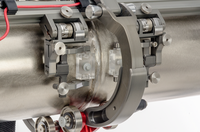
Overhead Adjustable Link
Raise the overhead adjustable link to provide space for larger probes to operate. Lower the overhead adjustable link when low-profile scanning is required.
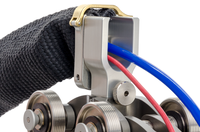
Cable Management
High temperature cable management protects cables, tubes and hoses from contact with hot surfaces.
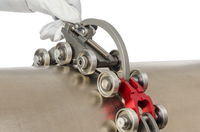
Adjustable Chain
Using two link lengths and an adjustable buckle, pipes and tubes ranging from 10.2 cm – 96.5 cm (4 in – 38 in) diameter may be scanned with ease. The quick release links are designed for efficient and straightforward chain setup.
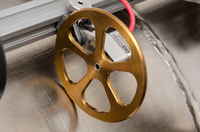
High Temperature Encoder
Track the scanner movement with confidence. The heat of the scan surface dissipates across the oversized encoder wheel; this protects the components of the precision encoder which is compatible with all industry standard instruments.
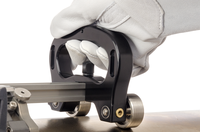
Handle
Handles are available to assist with scanner control.
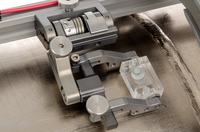
Slip Joint Probe Holders
Easily adjust probe centre spacing and probe alignment with these probe holders designed to accommodate most major TOFD wedge brands.
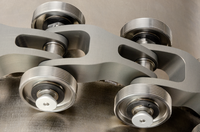
High Temperature Double Wheel Chain
The chain links have been designed to minimize heat transfer through minimal contact with the heated surface and stainless steel materials. Double wheel chains straddle the weld which alleviates scanner wandering and reduces scanner width.
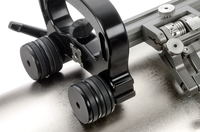
Modular Design
Expand the capabilities of your scanner. Purchase magnetic wheels to convert this ROTIX system into a magnetic STIX system. (Conversion of the high temperature ROTIX decreases high temperature capabilities to 50°C (122°F))
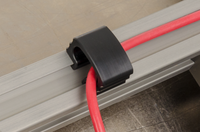
Cable Clips
Route and organize encoder cables.

Warranty
JIREH products are backed by a 3-year warranty.
Kit Contents
GENERAL
ROTIX frame with 40 cm (15.7 in) frame bar
PARTS & ACCESSORIES
High Temperature double wheel chain links (Long, short, buckle, etc.)
Overhead adjustable link
High Temperature spring-loaded encoder, 5 m (16.4 ft)
Slip joint phased array probe holders x2
Short, drop probe holder arm set x2
4 mm ID irrigation kit (7/16 in quick connect)
Probe holder spare parts kit
Cable clips x2
User manual
Setup chart
Rugged carrying case
TOOLS
3 mm hex driver
Wrench for pivot button adjustment
Component Identification
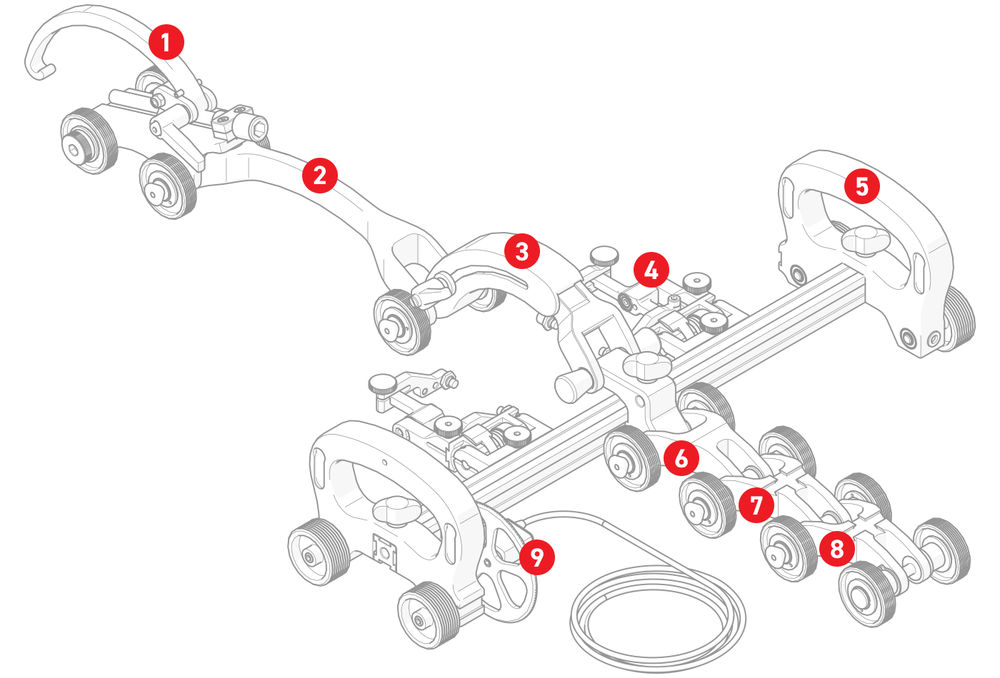
1 Buckle
The buckle connects to the catch link to form the chain system which mounts the scanner to the inspection surface.
2 Long Link
Equivalent to (approx.) 3 short links, the long link is useful during large diameter scan setups.
3 Overhead adjustable link
The overhead adjustable link adjusts to accommodate oversized probes. When low profile scanning is required, the link may be contracted.
4 Slip joint probe holders
Two, TOFD (time-of-flight diffraction) probe holders carry all standard probes and wedges.
5 Handles
Handles allow a grip point for the scanner as well as a mounting point for various accessories.
6 Short Link
Multiple short links complete the chain configuration around pipes and tubes.
7 Short link with dovetail
Utilize the dovetail mount to add accessories to the scanner such as cable management.
8 Catch Link
The catch link completes the chain connection around the scan surface. Use the dovetail mount to carry accessories when required.
9 High Temperature Encoder
This spring-loaded encoder maintains constant contact pressure with the scan surface. Position the encoder where convenient along the frame bar and connect to any standard instrumentation.
GENERAL
Pipe Range, Circumferential: 10.2 cm – 96.5 cm (4 in – 38 in)
Encoder Resolution: 4.28 counts/mm (108.7 counts/inch)
Probe Holding Capacity: 2 or 4 wedges
Encoder Cable Length: 5 m (16.4 ft)1
Inspection Surface: Ferrous or non-ferrous materials
RADIAL CLEARANCE
Radial Scanner Clearance: 8.9 cm (3.5 in)
SIZE & WEIGHT
Scanner Height: 10.5 cm (4.1 in)
Scanner Width: 43.5 cm (17.1 in)
Scanner Length: 12.5 cm (4.9 in)
Scanner Weight: 1.4 kg (3.1 lb)
ENVIRONMENTAL SPECIFICATIONS
Operating Environment: -20°C (-4°F) to 50°C (122°F)
Maximum Surface Temperature: 350°C (662°F)
Environmental Sealing: Watertight (submersible), Contact JIREH for details
PHASED ARRAY PROBE HOLDER SPECIFICATIONS
Minimum Wedge Width: 17 mm (0.67 in)
Maximum Wedge Width: 55.8 mm (2.2 in)2
TOFD PROBE HOLDER SPECIFICATIONS
Minimum Wedge Width: 17 mm (0.67 in)
Maximum Wedge Width: 44.4 mm (1.75 in)2
Probe Holder Pivot Buttons
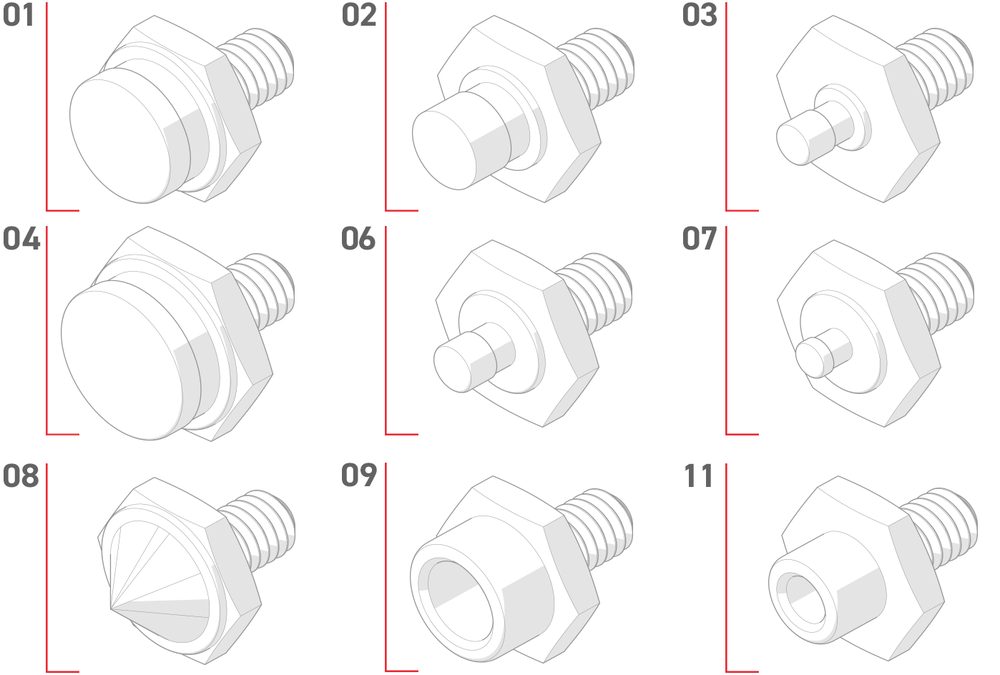
01
Pivot Hole Size: 8.0 mm (0.315 in)
Wedge Type: Olympus PA
Hex Size: 9.53 mm (3/8 in)
02
Pivot Hole Size: 5.0 mm (0.197 in)
Wedge Type: Olympus TOFD, Olympus A27 DMA
Hex Size: 9.53 mm (3/8 in)
03
Pivot Hole Size: 2.7 mm (0.106 in)
Wedge Type: Sonatest DAAH PH
Hex Size: 9.53 mm (3/8 in)
04
Pivot Hole Size: 9.5 mm (0.375 in)
Hex Size: 11.1 mm (7/16 in)
06
Pivot Hole Size: 3.0 mm (0.118 in)
Hex Size: 9.53 mm (3/8 in)
07
Pivot Hole Size: 2.3 mm (0.09 in)
Hex Size: 9.53 mm (3/8 in)
08
Pivot Hole Size: Conical Head
Hex Size: 9.53 mm (3/8 in)
09
Pivot Hole Size: 5 mm (0.197 in)
Wedge Type: Internal Zetec PA/TOFD, Phoenix TOFD
Hex Size: 9.53 mm (3/8 in)
11
Pivot Hole Size: 5.6 mm (0.221 in)
Hex Size: 9.53 mm (3/8 in)
- Custom encoder cable lengths are available.
- Some arms styles may provide additional maximum wedge width. Contact Jireh Industries for details.
Technical specifications are subject to change.


